Showing posts with label remodeling. Show all posts

Saturday, January 5, 2013

Progress Report

I really do not have much to report other than some picture updates.  I've about had it, as can be read in my previous post.  I have a party for approximately 15 one year olds in 2 weeks.  My house needs to be in toddler friendly shape or else someone is going to catch my wrath.  These picture are horrible, but they show progress from right around Christmas time.  Clearly, we still have lots of work to do.

All of these pictures are of priming only, with the exception of the mater bedroom, kitchen, and powder room, and even those are first coat only.


Dining Room-no more pink trim!


Dining room facing the river - no more pink trim!
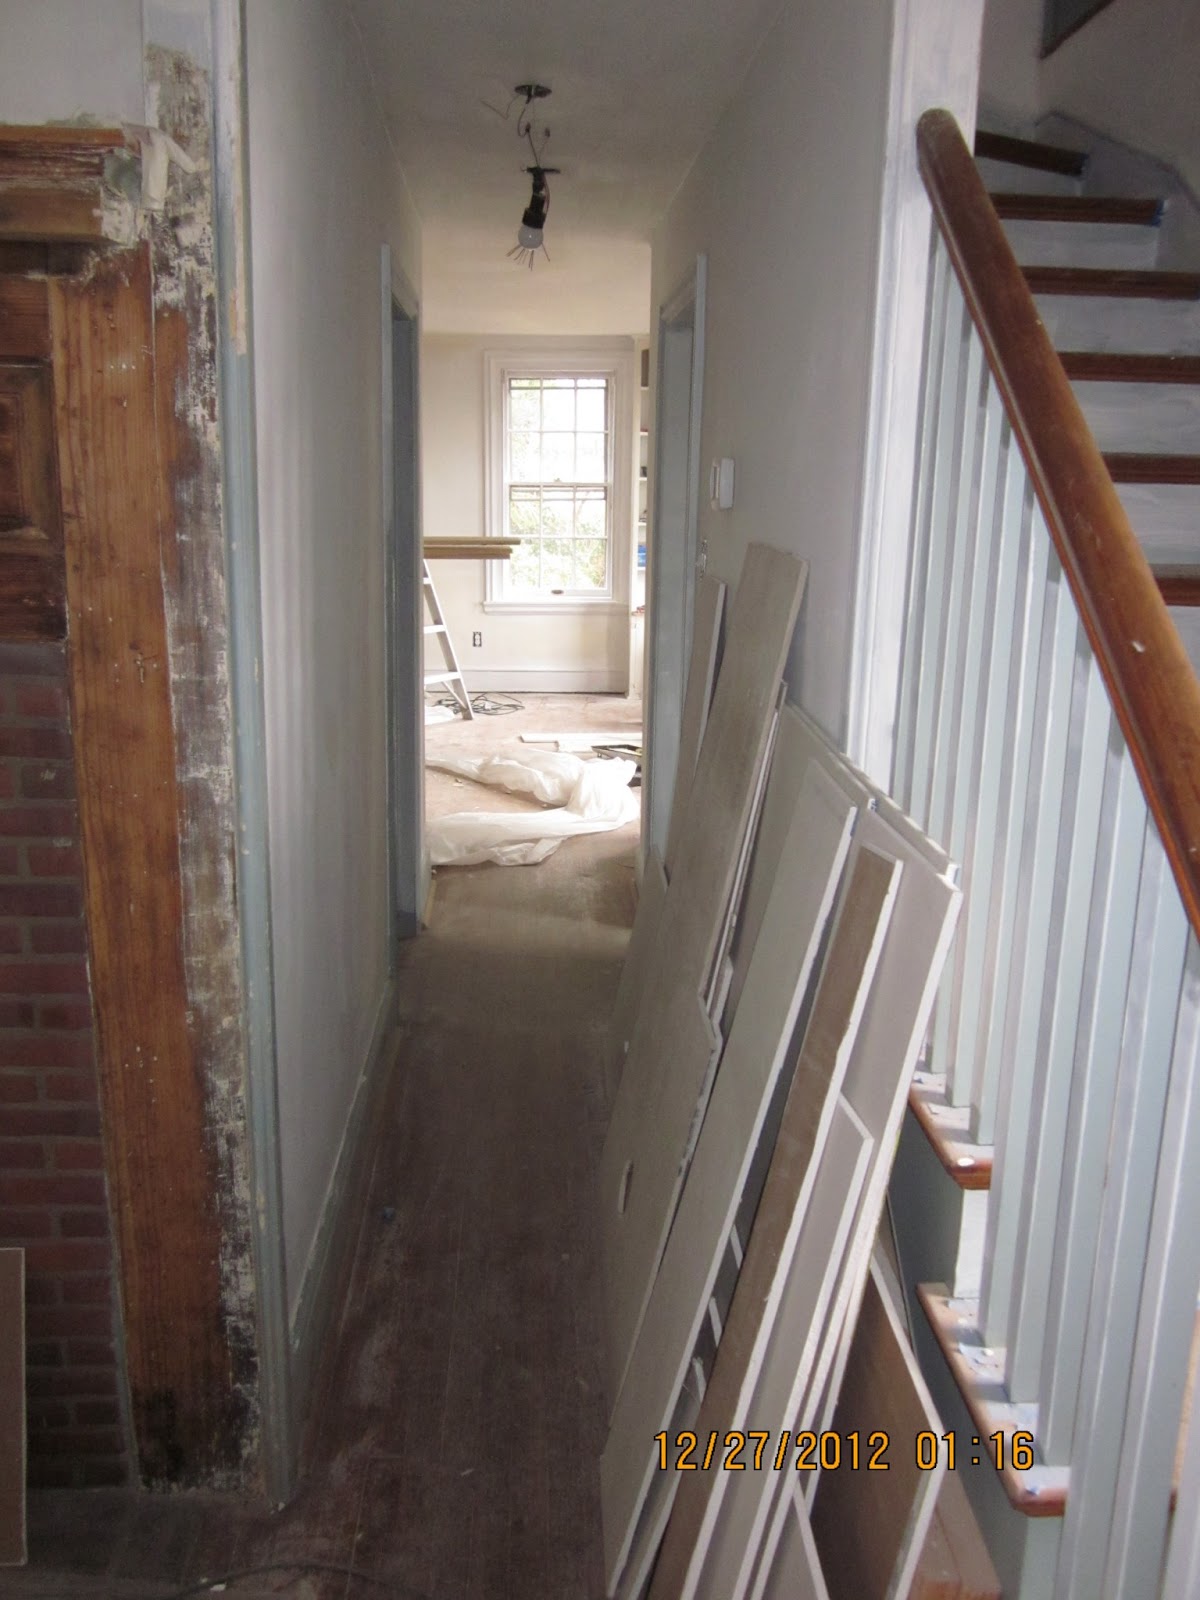

Hallway from living room to dining room and kitchen.  New ceiling and wallpaper removal.


Butler's Pantry - Buh bye drop ceiling.  Hello drywall!


Stairs from 1st floor to 2nd floor - All wallpaper removed, smoothed out cracks and primed.


Main bathroom - Gutted to studs.  Tile and bathtub installed.


Kitchen - pantry and powder room created.  Hardwood floors installed.


Kitchen-old features left for their charm like brick chimney and disconnected fuse box from 1916.


Master bathroom - you have no idea how many idiots it took to realize what I was talking about when I designed this floor.  How hard is it?  Its only THE quintessential pattern for the Victorian era mosaic.  Whatever.  I got the floor I wanted. 


Shower in master bath - and I was told we couldn't do a stand up show.  Showed them.  


So excited for purple wall sin the master bedroom.


Horribly out of focus picture, but this is the master bedroom looking in the other direction.


We are now calling this room the Study, I guess.  


Guest room.  


Living room.  Ugh.  I cringe when I look at this room.


BJ's master piece, which will never get done.  

Saturday, October 13, 2012

Electric Shock Therapy

A lot of the work that has been going on recently was a backlog of work that was held up by the electrician. One freaking guy with way too much power.  No pun intended.  Let's just say that our contractor had a Come to Jesus meeting with him over his attitude towards being paid in full before he was done the work. He also stated after he really looked at the house that the price would be increasing by about 20%.  Wrong.  It would not be increasing, and you will not be paid in full, especially since this is a project on a draw schedule rather then an invoice type project.  After that meeting he still decided it was okay to come and go as he pleased.  A final warning was issued and other electricians were called to be on standby.  I guess that was the final warning that he needed.  Work is progressing nicely now.

Here is a look at what our electrical panel looked like before.  You are looking as fuses on a 40 amp service (I am pretty sure it was only 40 amps, which is so not sufficient for a house of this size!) for a 3 story house and 2 car garage.  The white box on the right are the original breakers from when the addition was built in 1916.  We are keeping this disconnected panel because it is such a cool feature.  I will try to get a picture of the inside soon.  I think the funniest part of this is the meter location.  Notice it was located above the left most fuse panel inside the house.  It was a new smart meter hung right over top of an antiquated fuse box.  All this junk is being moved in the great electrical upgrade of 2012.


The meter box is being relocated to the exterior corner of the kitchen out of the way from anything.  We also converted our aerial electrical service to underground.  That is that big black cable coming up from the meter pan.  It wasn't hooked up in the first picture.  When the power company came out to disconnect the service they said it is an absolute miracle that our house had not burned to the ground.  Where the service entered the house, the wires were totally stripped bare.  If it had touched the inside of the metal conduit that ran down the side of the house...poof.  No more house for us.  But that is all disconnected now, so we have removed that one risk.   We also converted everything to gas so that we are not burning through 1000 gallons of heating oil each winter.  That meter will be below the electric meter pan.


Once everything gets run into the house from the meter pan, it goes under the kitchen floor, through the crawl space and into the basement to the new circuit breaker box.  Look at the timber beams in the basement.  Those are actual trees with bark from the 1600's.  How cool is that!


The panel that they put in is large enough to accommodate additional circuits in the house.  We went for a 40 circuit panel.  Oh yeah!


So now, everything that has been run out of that panel above has to weave it way through walls, floors, closets, plaster and lathe.  Right now there are spaghetti strings of wires hanging all over the place while we wait for the work to be completed.  


Notice the nonexistent floor in the kitchen.  Still no floor!  I am pretty sure we will not be in the house for Amelia's first Christmas and birthday :(


Sunday, August 5, 2012

Thank You for Your Support

When we started scoping out the work on the kitchen, we knew there was a little bit of degradation of the support structure in the crawl space.  We did not realize that since 1916, when that section was built, much of the support under the kitchen was gettin' low down and dirty.  There was no foundation even built under that section of the house so over time the kitchen sank further and further down into the ground.  So far that you could see a really deep slope towards the front corner of the house.  In other words, the kitchen and everything above it were leaning forward, threatening to detach from the house.  The upstairs showed signs of support issues where the floors slanted and the windows are no longer square.  The issues goes as high as the third floor.  The dormer on the third floor was even angled. 

Notice the dormer on the third floor behind the chimney. Instead of going straight across it angles down to the left.
In the picture above, the area of the house with the three windows on the second floor and the two windows on the first floor that face out is the area where the structural updates were being made. 

THE PLAN:  Tear out all rotted floor joists, sloped flooring on the first floor, plaster, and exterior wall on the first floor below the kitchen windows so that the house could be raised about 6 inches or so that it has sunken, level the kitchen, poor a concrete foundation wall under the exterior wall, replace the wall, replace the joists, lay new sub floor, and build a new kitchen. 
  
They started by gutting the kitchen.  Out came the plaster and the floor joists.  These were original and we noticed that some of these were cut by hand and had hand forged nails in them.  They were beautiful.  But they were causing my house to sink under their weight so they had to go.

The original floor joists from the kitchen
When all was finally demolished, we  left with nothing except the walls and a big ol' pit of dirt.  I like this idea.  Start from scratch.  Literally from the ground up.


Who tracked mud into our kitchen?
  
Next came the prep for the lifting of the house.  They weren't exactly sure how many inches it was going to be lifted until they leveled it all off of a point in the house.  In order to do the lift they needed to cut open the walls and cut down the studs so that they could actually lift the exterior.  So there was lots more cutting and lots more wood piles.

These dudes actually dumped the heap of wood on my peony bush!  We are not off to a good start.  I had just driven past our old house that we are renting out and saw that the tenants took my liberal policy of "feel free to do what you want with the landscaping" a little too seriously by letting all vegetation, including my peony bush, die.  After I get over the shock I see that the wood heap is impressive.  There are large clumps of horse hair insulation.  Now that is old school.  Nonetheless, it wasn't impressive enough for me to forget the peony bush that they crushed.  I used one of the pieces of wire in the heap to prop up the peony.  Wishful thinking that it will come back to life.


My peony is under there somewhere. RIP peony bush.

But I quickly refocused my attention to the area of my house that was missing.  Like totally missing.  A huge wall of my house was literally cut in half and peeled away.  By the time I got to the house to take pictures this week they had already lifted the house so I don't have "before" pictures.  I only have the "in the process" pictures after the foundation was poured.  How cool is this?!

The poured foundation footer and temporary support wall.


The exterior wall cut in half.
The supports on the exterior of the wall while the foundation is curing.


Close up of the new support structure.


And now we have support.  Under this side of the house, that is.  So next up is setting the new electric meter, running the aerial electric service underground, installing gas line, and then running all new electrical. Oh boy! We are rolling now!


Monday, July 16, 2012

Let the Demolition Begin!

We have lift off!  After a few week delay getting work started work has begun.  They started demolition on the 3rd floor and the roofers came in to fix the may-jah roof leak that had been active for over 2 years. 


Standing on the stairs looking up at the 3rd floor ceiling.


Our HVAC guy, who happens to be a family friend, called me and said, "Breezy, have you seen your house lately?"  I said that I hadn't.  He then said, "Don't go there.  Don't go in the house.  It looks like it was bombed."  He wasn't kidding.  As I went further up the stairs I was amazed.  The walls were all gone on the 3rd floor.  There was no more stained, cracked, or wall papered plaster.  We had just bare studs and knob and tube wiring left.  And soon there would not even be that.  Here are the pictures that I took before and after the demo in the rooms on the 3rd floor.


Family Room Before and After


Family Room window facing the front of the house.  Before & After


Family Room window facing back of the house.  Before & After


Attic space in BJ's office.  Before & After

 
 Window in BJ's office looking towards the back of the house.  Before & After


 Corner area with windows looking towards the front of the house in BJ's office.  Before & After.

Next post will be all about the whole in the earth that used to be our kitchen.  I promise to include more about the rebuilding process of the kitchen.